Filtering using Hoist
Hoist is a feature where one can focus one or more branches of an outline of items, and toggle back.
IQ can have many grids, each showing a different outline, so it is already easier to work than many other apps which have a single tree (outline) .
Users can simulate Hoisting in a number of ways (using item tagging for example, or using specific yes/no fields), but using Hoist is both faster and less cumbersome.
As with some other outliners, through Hoist, users can:
- Select an item (i.e. a branch) and do a Hoist. The display will filter to show only that branch
- If already hoisted, one can Hoist even deeper in the tree
- Hoist can be turned Off to restore the full outline
IQ builds upon the standard hoisting with these additional features:
- You can select multiple items to Hoist. (most other apps support a single item hoist)
- The main Hoist command (a funnel with the letter H) will:
- Hoist selected item if Hoist is Off
- Turn Off Hoist if already On
- Shortcut key is Ctrl+H
- The Hoist command is a split button with 5 Hoist sub-commands:
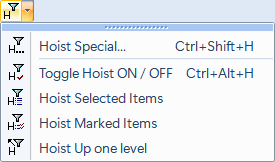
- Hoist Special...: Displays a dialog with the list of Hoist actions
- Toggle Hoist On / Off: toggles between Hoisted and non-Hoisted display.
That way, if you Hoist a few items, and want to toggle back to view the whole picture, you can go back to the Hoisted display without re-selecting your items. - Hoist Selected Items: Same as the main command, except that if the display is already hoisted, allows drill-down Hoist.
- Hoist Marked Items: IQ maintains a list of "Marked Items" with commands to add / remove items from this list. This command shows these items in the current grid
- Hoist Up one level: Hoist up 1 level, to show parents of the current hoisted items
- If an item has multiple parents, all of these will be shown.
- If an item does not have any parent, it will remain displayed in the grid
- Items added while Hoisting, become part of the Hoist
- Drag-dropping items from another grid to a hoisted grid, adds these items to the hoisted display
- Use Grid>Context Parents to show context (1 or more levels of context)
- Hoist can also function as "Filter Selected". Select any items, even TLIs and Hoist will filter for just those. Simple way to only print some items.
- Hoist state is saved (re-opening the grid will restore the previously hoisted items)
- Hold Shift or Ctrl when clicking on the Hoist command button to open the Hoist in a new instance of the same grid
- Hoisted items are accessible to ODBC applications. This allows other application to view IQ grids. Ensure that Grid Properties > Other > Grid visible to other applications is checked to use this feature
You can, for example, select a bunch of contacts, Hoist them, and then use Word, Excel to view these. Word can mail-merge, Excel can display these items, etc. The query name to use is YourGridNameHoist.
An easy way to view it in Office applications is through ODC connections. Details here
Hoist Example
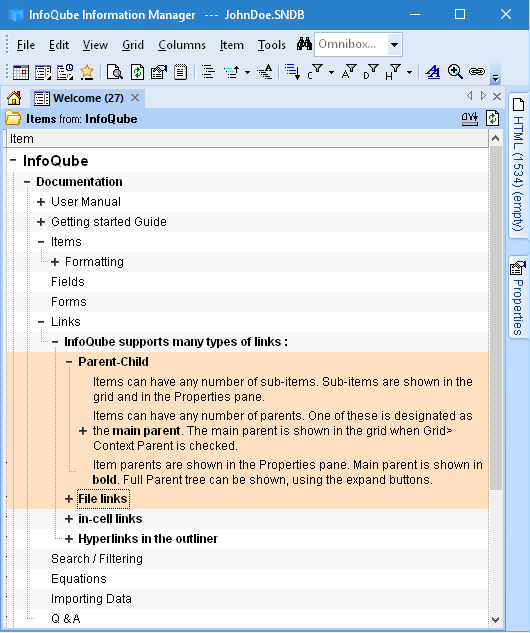
Starting with the sample IQBase, open the Welcome Grid.
Let us suppose that you wanted to focus on Links. Select the items from the grid:
Let us suppose that you wanted to focus on Links. Select the items from the grid:
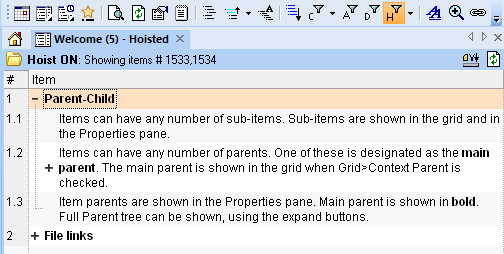
Do Grid > Hoist Items to get this display:
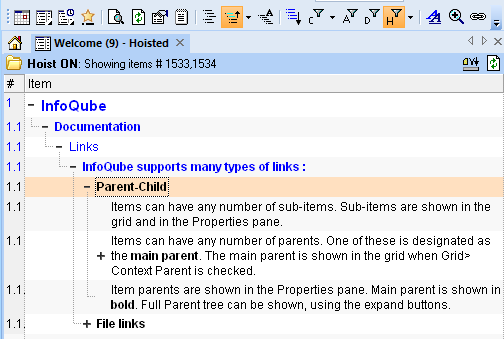
or this one if context parents are shown:
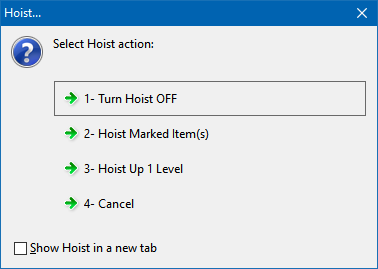
Click on the Hoist button again to turn off Hoist or Hoist Special to show a dialog of actions:
Or you could choose another action, such as Hoist One level up, to can continue moving up in the tree hierarchy, in a way similar to Map Views, but while having the advantages of working in a grid.
When hoisting up, all parents of all hoisted items are shown. This is one way to see all item parents (another way is the Parents section of the Properties pane)
Hoisted items are saved with the grid, so at any time (even after a program restart), you can return to these hoisted items.