Getting Started Guide
1. Starting InfoQube
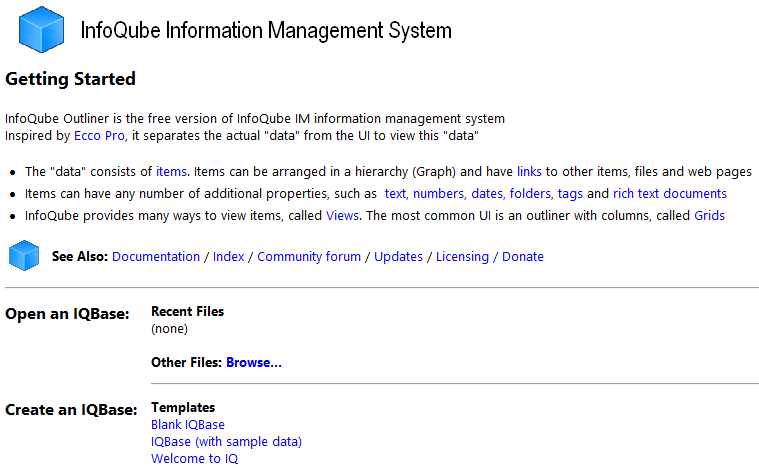
On startup, InfoQube will show the Start page:
 |
2. Create and Open an IQBase
InfoQube is a file-based application, so the first step is naturally to open / create a new file (i.e. IQBase)
Options are:
- New blank IQBase
- New IQBase: with sample data
- New IQBase: copy of the Welcome to IQ file containing the full user manual
- Open an existing IQBase, such as the Welcome to IQ file. File > Welcome to IQ
When saving the file, select a non-protected folder, such as your Documents folder or sub-folder of it
Do not save the file to a protected folder, such as a folder under Program Files
When opening an IQBase, the Home page may be displayed (setting in Tools > Options). The Home page is a convenient way to access content. Details here
3. Entering Information
Grids are the primary user interface to enter content:
- To create a grid, click the last workspace tab (+) or do View > Grids > New Grid...
- To open an existing grid, do View > Grids and select one from the list
If you started with the sample IQBase, there are already a large number of grid available (Inbox, AdrsBook, Project, etc). To open an existing grid:
- View > Grids >
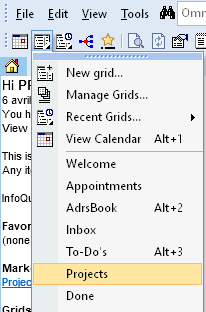
- This list can be detached by grabbing the (.............) header and docking to a side of the main window.
If you're just starting, it may already be docked to the left side
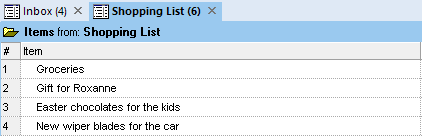
Let's open the Inbox grid:
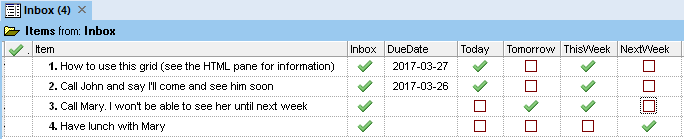
You'll see a flat list of items, with a set of properties:
- Above the grid, the source says that items are coming from Inbox. Inbox is a field and any items with this field checked will show here (unless another filter is applied).
- 4 items are shown
- The main item text is stored in the Item field
- The next column is the Inbox field. All items have this checked or otherwise they would not be shown. To remove an item, uncheck this field
- DueDate has a dropdown to select a date (and other options)
- The next 4 columns show check boxes and are linked (using their field properties):
- Today and Tomorrow are mutually exclusive
- ThisWeek is checked if either Today or Tomorrow is checked
- Checking NextWeek will unselect all 3 other fields
4. Creating a Shopping List
If you started from the sample IQBase, there is already a Shopping List grid created for you. Otherwise do:
- View > Grids > New Grid:
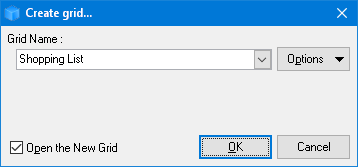
- We'll call it "Shopping list"
You'll then be presented with a blank page (i.e. a grid). Notice how the grid tab will show the grid name, and the number of items in the grid.
You are now ready to enter your information. Simply start typing and hit enter to create the item and move onto the next.
IQ auto-switches to edit mode as soon as you start typing. Alternatively, you can click on some text or press F2 to start editing
Next, you'll want to add some additional columns. There are many ways to add fields as column. We'll use the Column > Add / Remove Column command (or right-click on a column header)
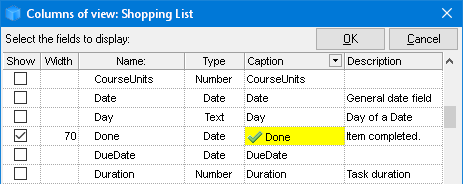
- Go to "Done" and check it, then click OK.
- The grid now shows 2 columns
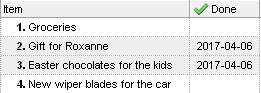
To mark items as done, do Item > Mark as Done (Ctrl + M)
In the sample, 2 items are already marked as done. Done items can be shown with a different color, in this case it is set to a pale grey background:
Last step of this tutorial is that you may want to hide items that are done. There are many ways to do this, but the simplest is to use the column filters:
- Hover over the column header and click on the column filter button (right edge of the column header) and click on (blank)
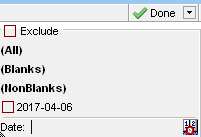
- Notice that a filter icon is displayed on the Done column to remind you that a filter is applied.
- There is also a yellow band at the bottom of the grid, showing the current filter

- To turn off the column filter, you can click on the X on the yellow band or on the Column Filter button (main toolbar and Grid menu)
- The Column filter button is a toggle button (split button), so you can toggle between filtered and non-filtered view by pressing on this button
5. Your Next Steps
- Writing an outline
- Using Grids
- Using the IQ Calendar
- The Document pane
- Documentation Table of Content