Outline Labels
Outline Styles and Labels provides a quick way to automatically format your outlines.
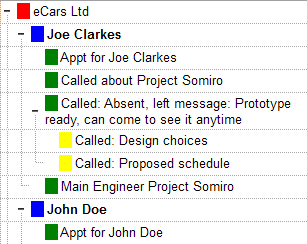
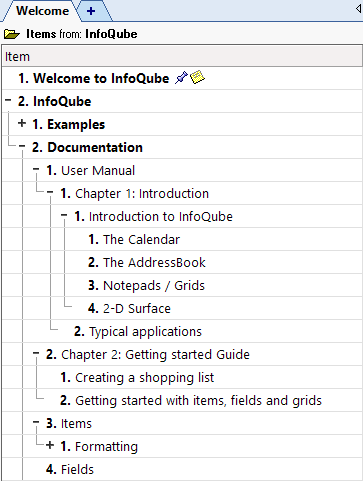
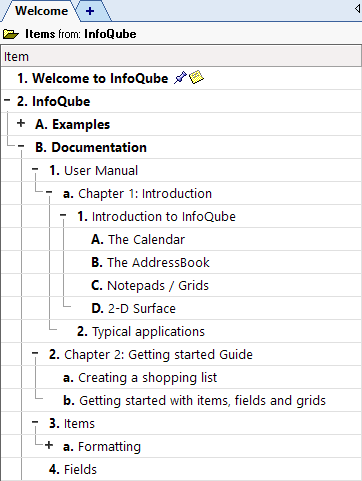
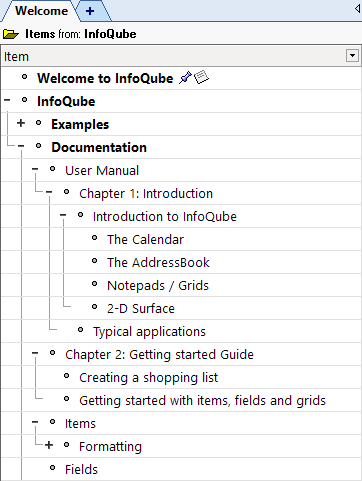
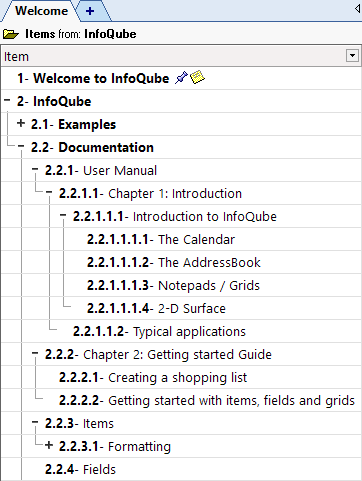
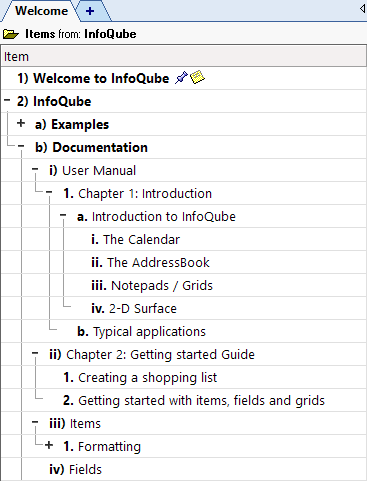
With Outline Labels, heading items get numbered automatically based on the item hierarchy level (i.e. heading level) and any change in the hierarchy is immediately updated:
1- Managing Outline Labels
The Manage Outline Labels dialog is used to define labels:
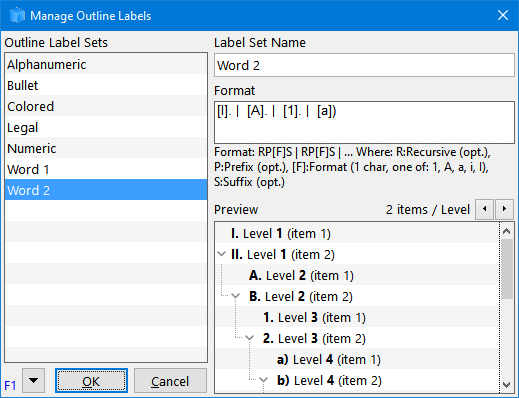
- The left pane shows the list of defined label sets
- Right-click to Add / Delete label sets
- Click the down arrow to Add / Delete / Import / Export sets
- Click OK to save or Cancel
- The right pane is used to modify the properties of the current set:
- Name
- Format
- 1 or more items per level can be shown in the Live-Preview
2- Specifying the Labeling Format
The labeling format uses a simple defining string:
- Each level is defined using the following flags RP[F]S and separated by | (a space, vertical bar, another space)
- R: Indicated the level is recursive, 1 character, optional
- Uses the label of the parent level as a prefix to the current level
- The suffix characters of the parent level are not included
- P: Prefix before the numbering. 1 or more characters, optional. Can include formatting and icons.
- [F]: Format code, optional, 1 of the following characters, enclosed in square brackets:
- 1: Numeric
- a: Alphabetic
- A: Alphabetic, capitals
- i: Roman
- I: Roman, capitals
- S: Suffix, 1 or more characters, optional. Can include formatting and icons.
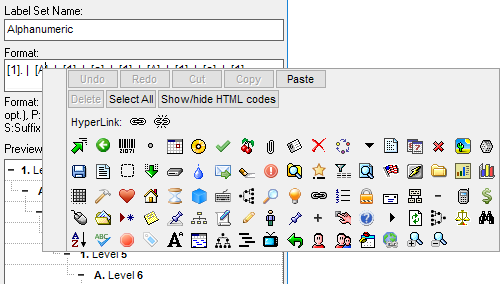
The format text box is similar to the Popup Editor. Right-click to format and add icons:
3- Using Outline Labels
Using outline labels is really simple:
- Use Grid > Outline Labels menu (or toolbar dropdown button) to select the label or "(none)"

- Use this to instantly switch between different types of labels (see section 5 below for sample)
3.1 Heading vs Normal Items
When using InfoQube as a writing tool, it is important to distinguish between Headings and paragraphs (i.e. actual content):
- Use the H or N command buttons to toggle between the two states
(an item is either a heading or a normal text item, never both) - By default, all items are Headings
- Adding an item after a paragraph (normal item) creates a new paragraph
How Heading / Normal items affect Outline Labels
- The rule is very simple: Only Heading items get outline labels
- Details here
4- Import / Export Outline Labels
Click the down arrow to import / export label sets
4.1 Export
- A dialog is shown to select export of the current label set or all label sets:
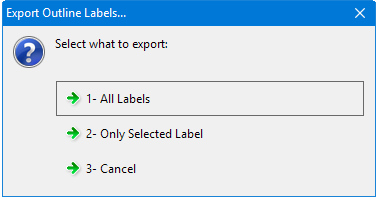
- Select the export file name as click Save
4.2 Import
- Select the import file and click Open
- Selected file must come from a previous Export, from the current IQBase or from any other one
- If a label set has the same name as an existing one, the existing one will be replaced by the new one.
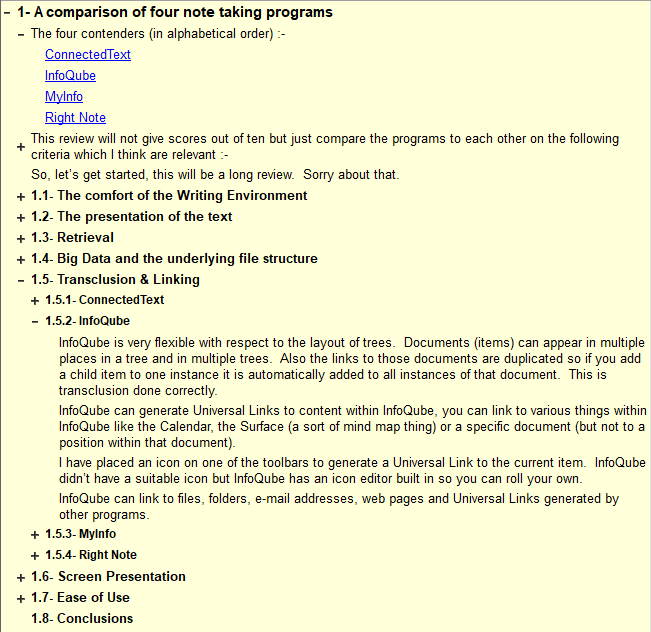
5- Sample Outline Labels

Notes :
- Outline labels can be combined with styles. More info here on using Outline Styles
- To make a copy of a label set, simply save it under a different name
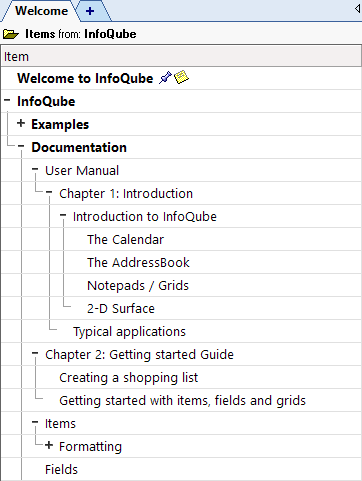
- The [F] format specifier is actually optional. If not present, the labels will be shown but not numbered, hence will be the same for all items (of that level).
This can be used to add bullets and other formatting (i.e. such as back color) to all items or items of any given level (such as red for level 1, blue for level 2, etc):